WordPress is one
most used platform around the world as it easy to use and Google friendly.
I will tell you How to Install
WordPress on Hosting Easily. If you don’t know ABCD of PHP or CSS don’t worry because the method I am telling you don’t requires such skills. It’s easiest one even a 10th Class student can install WordPress on Hosting by following these step by step guide.
Before Going to Method, i want to Tell you Get Good Hosting for your website as I have provided information about
Top 5 Hosting Sites . So start with What is Importance of WordPress?
Here are Top 5 reasons You should use WordPress
- Easy to install.
- It’s easy to manage.
- Thousand of Professionally Designed Themes.
- it’s 10 Year Older.
- Search Engine friendly
- it is Extendable
- Easy to manage and setup
Are you worried about installing WordPress?
You don’t need C++ or Java Skills to install it, To install WordPress on Hosting is an easy thing to do. There are many methods to install WordPress but if you have Cpanel Hosting than its easy to install WordPress.
Remember All Cpanel hosting has simple one method to install WordPress.
How to Install WordPress on BlueHost
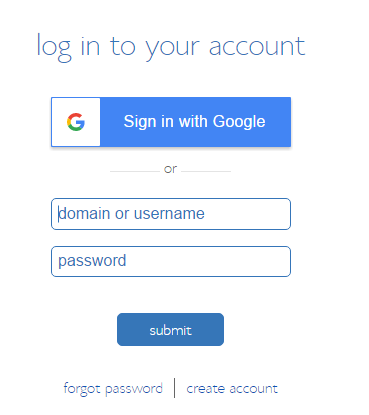
First Open your Hosting Website and Login to your Hosting account by entering username and password.
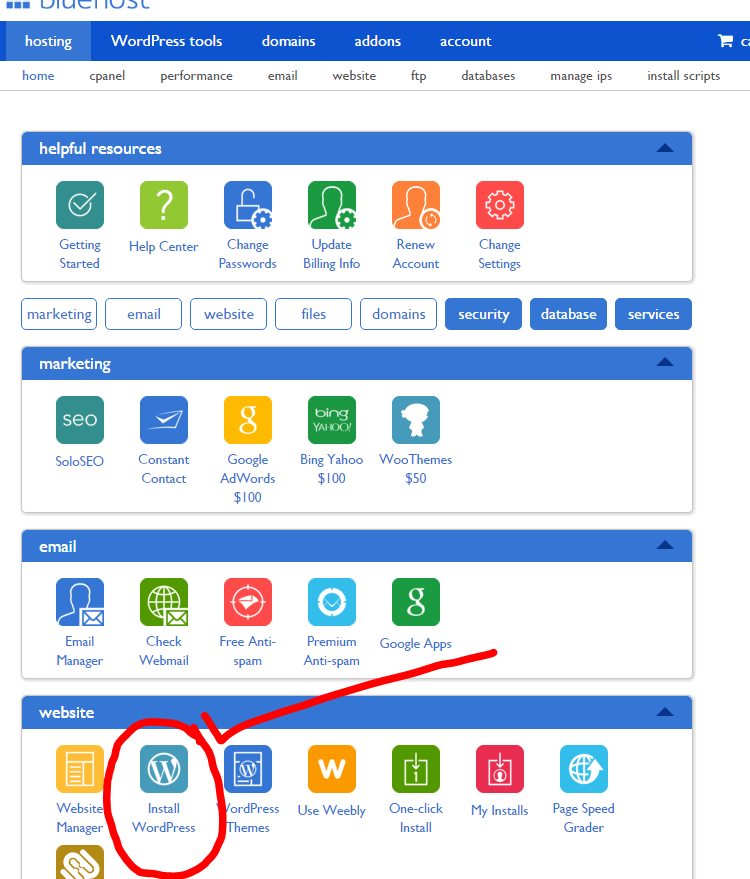
Then you will be on a page below, so what you have to do is just click on Install WordPress.
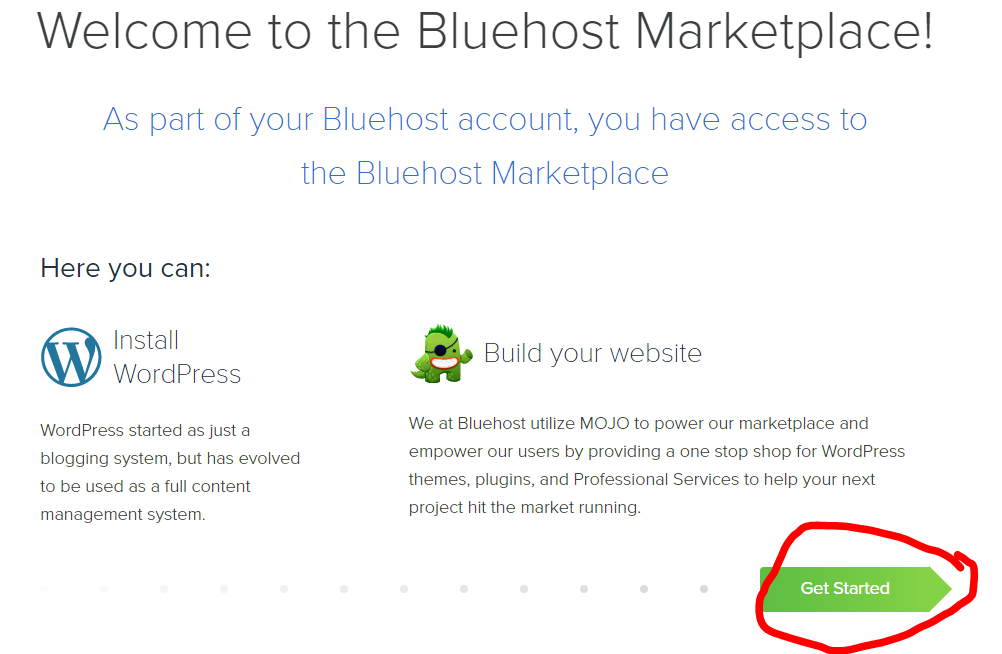
After clicking on Install WordPress, you will see a page written Get started. Click on it.
Now you have to select a domain where you want to install, if a domain is purchased on the same hosting then easily you can select it from here. But if a domain is purchased from another source then you have to addon Domain by changing DNS Setting of required Host so you can add it in below list.

After selecting domain, you will be redirected to page shown below
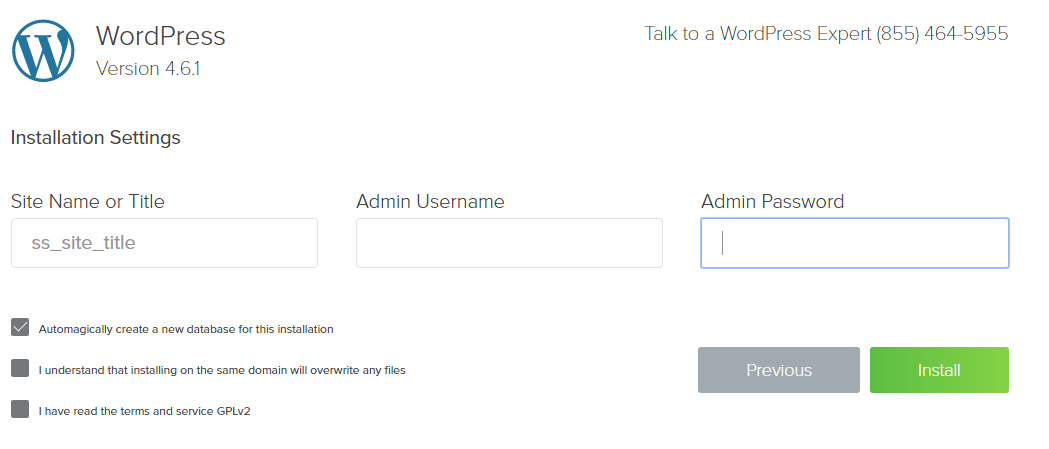
Site name: you have to enter the Title of your website.
Admin Username: Here you have to enter a username to login to your website.
Admin Password: Here you have to enter Password to access your website.
Check on all 3 fields below that you agree to all terms and conditions.
Click on install and wait for 2 to 3 minutes. WordPress installation is done.
Then you will see a link where you can enter username and password to go to the dashboard of WordPress. That’s it.
Is it really difficult? Haha, I know Now you are thinking like a Champion of WordPress.
How to Install WordPress on HosterPk Hosting
When you purchase Hosting from Hosterpk, they will send you All Login details on your email address.Open your email there will also be information of Cpanel to log in.
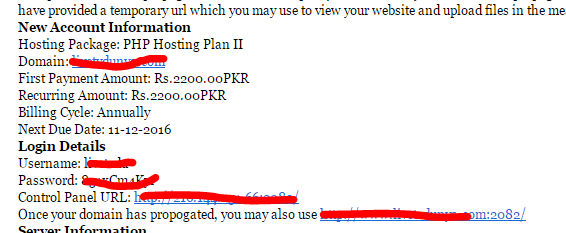
What you need to do is just click on a link of Control Panel URL and enter the username and Password provided by Hosting.
Now you will see a picture shown below
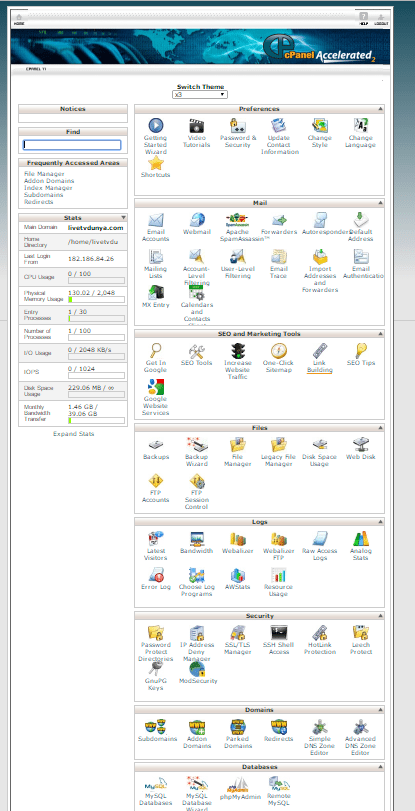
Scroll down at the end of this page; you will see an icon of WordPress Click on it.
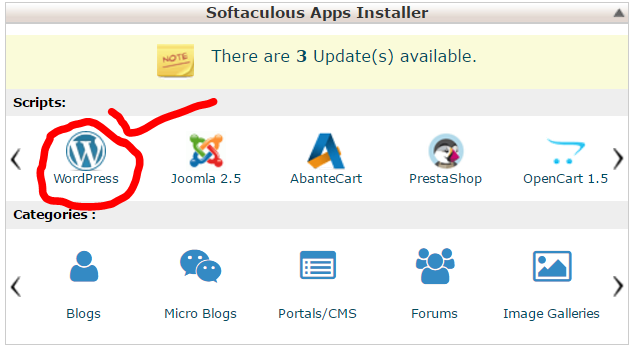
Now you will see page below. Just click on install.

When you click on install a Detail page for installation will be shown.
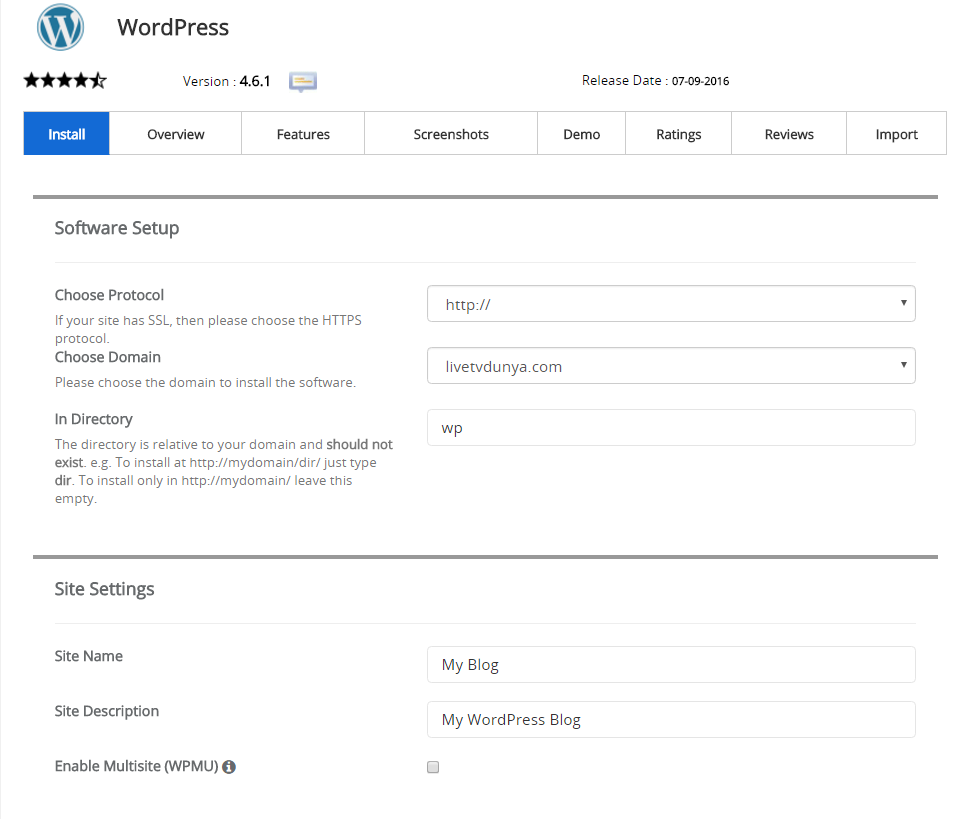
On Picture above you can see different fields.
Choose Protocol: Here you need to set Website Domain Protocol.
There will be 4 options. You can set anyone which ever you want to prefer but remember
Http://
Http://www
Https://
Http://www.
You can set according to t your choice, but I will recommend you to set as 2nd Option of Http://www.
Below that choose domain Where you want to install WordPress.
In Directory Remove wp.
You can also set Sitename and Description too according to your website.
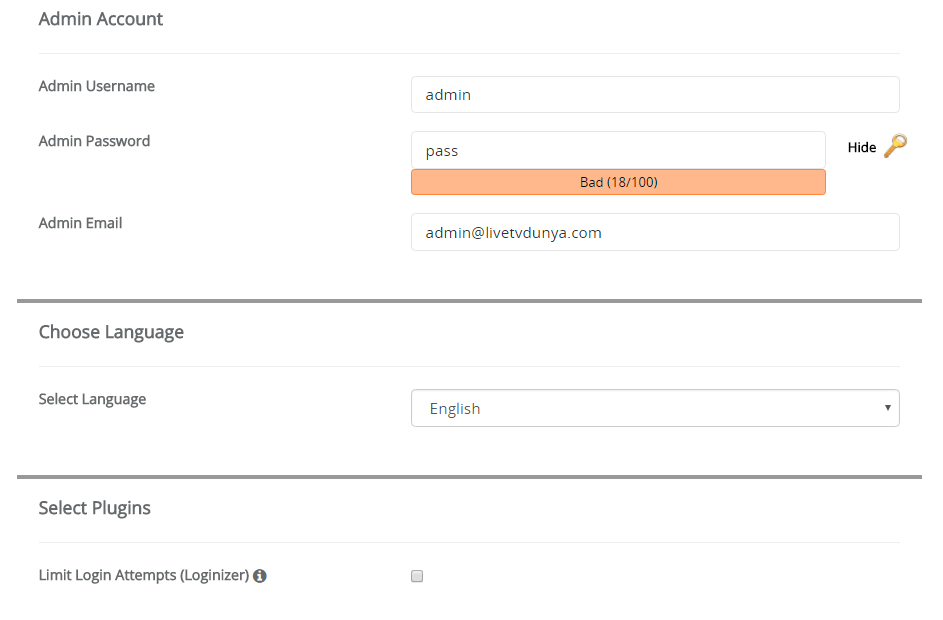
Here you have to set Admin Username and Pass of your choice.
Below that you can set email i.d which you want to use as an admin.
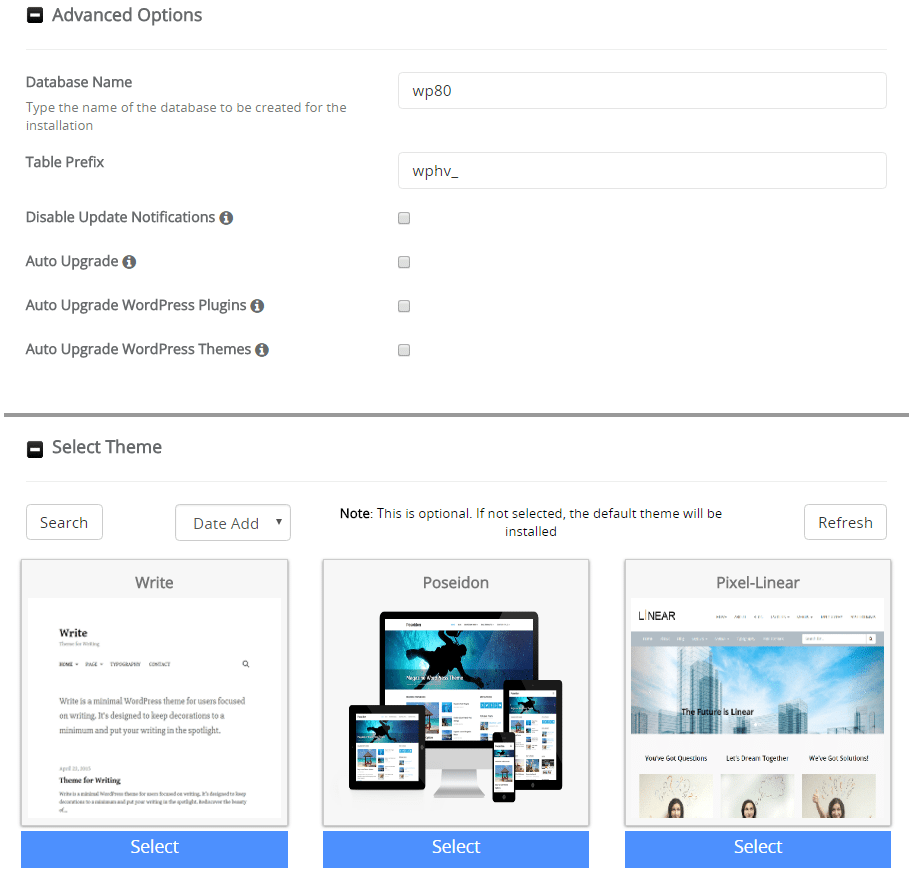
I will recommend you to don’t change an advance setting.
And below that select any theme, Remember this is not the Final theme. This is the just template you can change theme later.
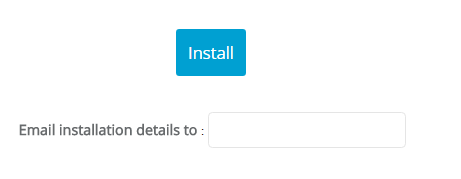
Provide the Email address where you want to receive all information related your Website WordPress Installation.
And click on Install, it will take 2 minutes, and Now All done. You will receive an email to access WordPress Dashboard. Which is usually www.yourwebsitename.com/wp-admin
I hope this one is also easy to understand. After that, you need to
install WordPress theme.
Written by: Aiman Rehman
Thank you very very very much. So informative and helpful.