| Shopify Guide |
Shopify is one of the best platforms for freelancers to earn some hefty amount of money. I’m sure all of you would have an idea about Shopify (if not, don’t worry this is the right place to learn from scrap).
In this article, we will tell you about How to earn by Shopify through different tips and tricks. Let’s get started.
Table of Contents
1: Getting Started:
In this article of learning, we will be using Dropship model as its most convenient and least time-consuming way to start earning.
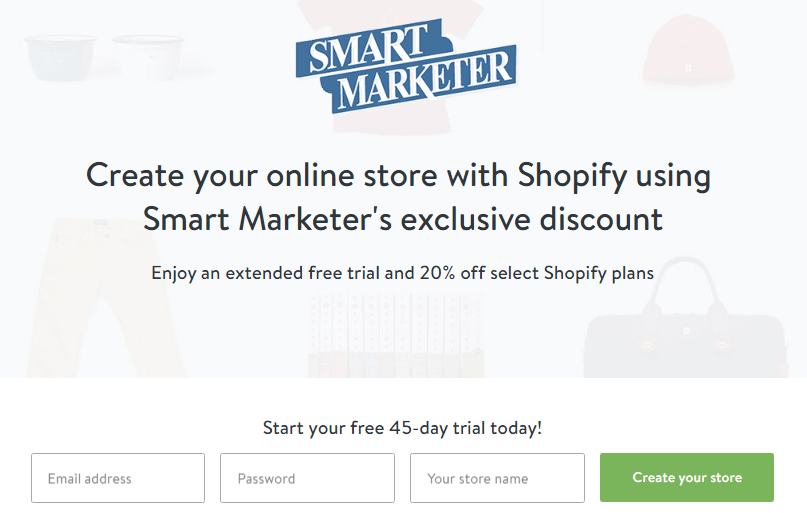
At first, you’ll need to sign up for Shopify. On Shopify website, if you sign up directly, you’ll be awarded 14 days’ trial. But as we are here to teach you some better tricks, here’s first thing from our side, a 45 days’ trial signup coupon for Shopify.
45 days’ trial – https://www.shopify.com/smart-marketer
Let us tell you one thing; we are here to tell you a way that how can you earn money from Shopify without spending any penny. (Save your money from such scams)
- When you start signing up for Shopify, it will ask you following data:
- Your email
- Password
- Store name (whatever you want your store to be called)
- Here’s one tip while giving your store name, make sure you use some adjective with it like “Amazing” and “Awesome” to make it a little catchy. (We hope you get this point)
- Now another main point is that, if you don’t use a custom domain and you want to earn using Shopify domain just make sure you make up your mind about the STORE NAME as it will go in the web address of your Shopify store. E.G. Storename.Shopify.com will be your permanent URL, and you won’t be able to change or connect your custom domain after you selected an option.
- After this you will be asked some questions, just don’t worry answer them in the following series:
- I am already selling online using a different system
- Amazon
- $5k to $50k
- After this click, ENTER, MY STORE, and your store will be up and running.
2: Setting up your Store
After signing up, you will be redirected to your homepage where you will see some tabs aligned in some order like Setting up your shipping, Tax info, Adding products, etc. etc. etc. (Don’t get tensed just now, we will try to make it easier for you)
- Now firstly, click on settings and select GENERAL.
- Choose your store name which will be the same as the URL.
- Now choose 2 email fields
- Now store address.
- Fill all of them accordingly.
- Next step is Payment. Now there are 2 methods in here. 1st one is used by some PAYONEER credit card users or any credit card around the world. If you’re not interested in this step, just put random numbers. No need to worry about anything. 2nd method is Paypal Express (many people use PayPal service). Give the answers to the questions asked, and you will be done here. i am using Strip to accept payment from Visa card and Credit Card.

- Then moving on to Checkout. Let us tell you what to do there:
- Customer accounts – Optional
- Full name – Require first and last name
- Company – Optional
- Apt – Optional
- Phone number – Optional
Keep the rest same except select automatically archive my order under after an order has been paid.
“Then you will see a box that will say some additional scripts. Now this is where you will be using your FB retargeting/conversion pixels. This will be explained in the later step. ( Leave it for now ).”
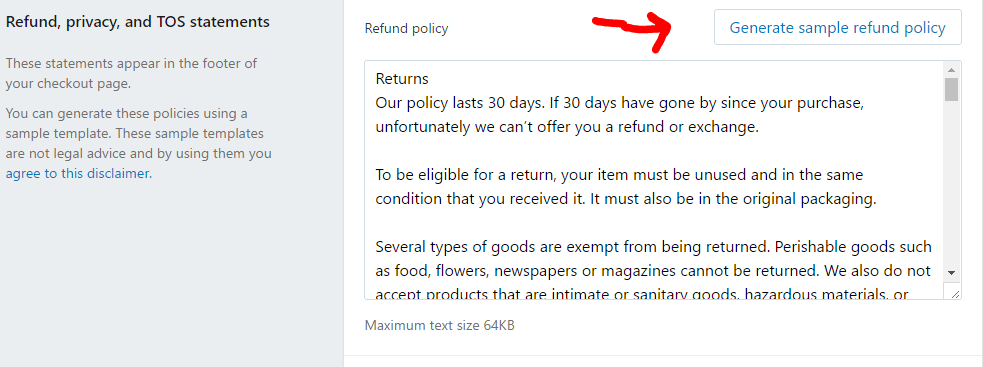
Once you are done with the above, go the bottom of the page where you see three boxes (Refund Policy, Privacy Policy, and TOS) click on generate a sample for all three and you are done here.
Now let’s generic lexapro topix move on to Shipping. Here you will have to put some numbers for shipping RATES according to the weight. Add some rates like these:
0 – 0.9 = $9.99
1 – 1.9 = $14.99
2.0 – 2.9 = $17.99
3.0 – 3.9 = $19.99
4.0 – 4.9 = 21.99
This should be okay for now. Weight shipping rate should be according to items. Here i have used all these numbers in Gram unit.
3: Designing your Store
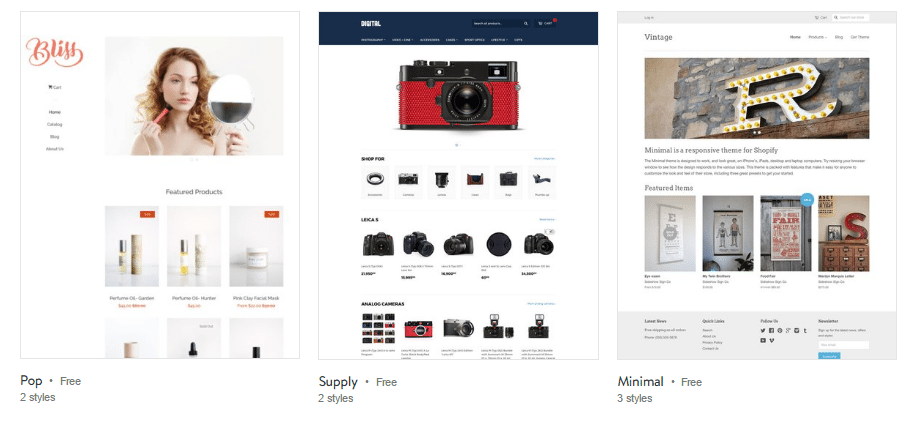
Your store design will mostly depend on your niche (category) if you ask us we will recommend selling different products. As far as the theme is concerned, we want you to choose Minimal theme so that your store loads faster on any internet speed. Modify theme, logo, color platelet and different unique stuff yourself.
To select theme click on Online store > Themes and Here you will see free themes and you can choose anyone you like.
You can set up your own custom domain as required.
Another important thing on this set up is ABOUT US page which is necessary. Choose ABOUT US wisely. Write in a professional way.
Next point is SHIPPING PAGE:
Shipping depends on the product ordered. For promotional “FREE” items it may take 3-5 weeks to arrive since our items are coming overseas and from a different warehouse. For non-promotional items, the shipping can take up to 14 to 30 days. Please allow 14 days before contacting us. No email correspondence will be entered into on the subject of delivery until after this period. This is to allow for any delays in the postal system and to keep email administration down to a manageable level.
And your store is up and running. Next Main step is how to get products to your store:
4: Niche Product Research
Make sure you know each and everything about your niche on which you are working. Here are some examples (best for any Shopify store:
- Keychains
- Plush Toys
- Lamps
- Chains
- Earrings
- Rings
- And basically, each thing that is worth $2 to $3 in AliExpress.
5: Adding a Product
Click on the Product to add the first product on your Shopify Store. Similar to the picture below:
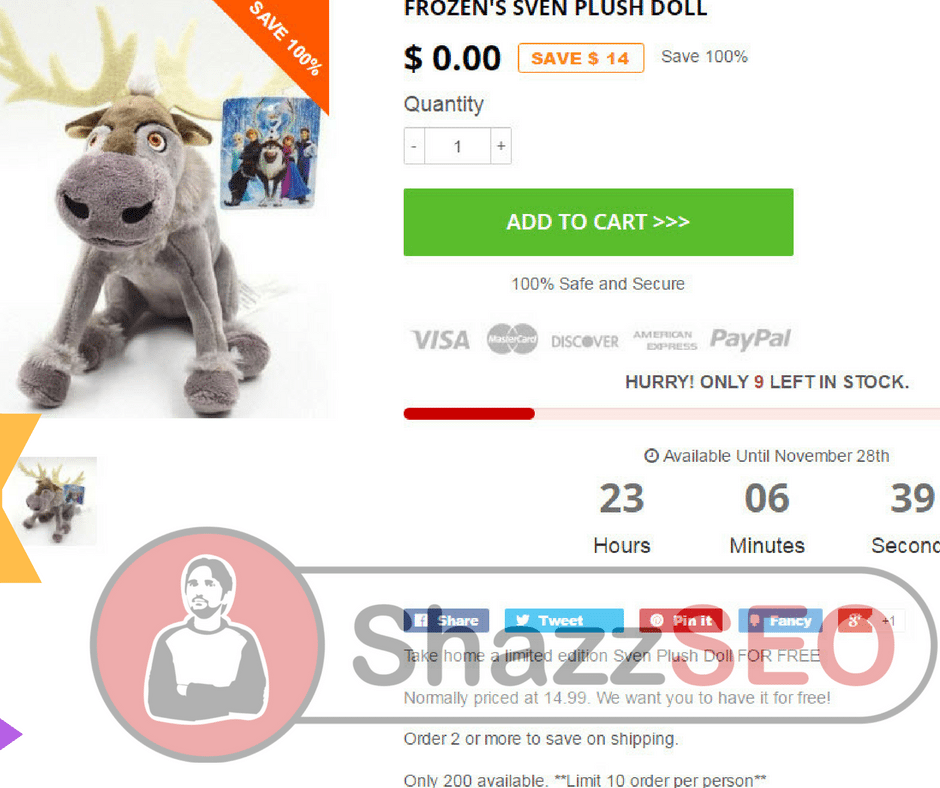
Did you notice that green button? Try to make a similar one on your product. It gets a lot of attention and let’s face it; it seems professional.
6: Getting Traffic and Sales
Now like we mentioned earlier that we would not let you spend even a single penny on the advertisement campaign so that we will use FACEBOOK as the advertisement platform.
Facebook allows you to start the campaign for FREE. All you have to do is make a fan page with the related category and subcategory as your domain/URL. Remove the auto-generated picture. Give a good detail and description because a description can attract many clients/customers.
Now one thing you should focus on before finishing up your ad is that you focus right audience who are interested in your store. There would be an interest tab which will show you interested audience. Keep the focus on the better audience for your stuff to sell.
Now the post and the ad is ready, go to create and name the campaign and click on USE A SAVED AUDIENCE. Then for placement choose all platforms and in platforms choose only Facebook with budget $20/day on the first day.
You are almost done with it.
7: Scaling up
Now to scale up to add more products and keep testing. Also, create different ad sets with the different target audience. Delete the one who doesn’t make much profit and keep the highest earning thing.
A little tip in this regard is to install “Yo- display recent sales in real time.” This app boost sales like crazy. We will recommend you to use this app.
This was all from our side. Happy earning everyone. Keep liking our stuff.

